How to: Apply Makeup

I found an article on Facebook the other day about the “proper” how to apply makeup. Since I’m interested in anything beauty related I read this article out of intrigue. After reading it I realized that I do not apply my products in the way the article says. It got me thinking, does that make my routine “improper?”
Like anything: style, taste, visual aesthetics, we all have different preferences. The beauty realm is super personal. What works for one person might not work for someone else. In my instance, the writer of that articles techniques don’t work for me. I don’t believe there is a right or wrong way to apply cosmetics.
That being said, it made me want to share how and why I apply my products in the way I do. Perhaps this routine WILL work for someone, and in that case, you’re welcome. To kick us off, in the words of Nikkie Tutorials…
Not to Prime is a Crime
I used to think that priming my skin was a complete waste of time and money. That was probably because I was using a hydrating primer on top of my moisturizer. I had no clue there were different primers for certain skin concerns. Maybe your skin is super dry and you need a hydrating primer. Personally, I’m all about a good pore filling primer. A pore filling primer gives an airbrushed look to the skin and leaves you with an ultra smooth canvas. I only use this around my nose and in between my brows.
I also use a priming mist from Fourth Ray Beauty. It’s called their Glisten Up mist and it’s infused with vitamin C. This is technically a “skin care” item and not a “makeup item” like a normal primer. Therefore, the ingredients are super good for your skin. This product leaves my skin looking ultra healthy and dewy.
How to Apply Makeup
All About that Base
The makeup tutorials out there all basically do the base makeup the same. (If you’re just starting out and trying to figure out how to apply makeup Youtube is a great resource.) I’m a little different. I always start with concealer. I spot correct my pigmentation and blemishes then go under the eye with a shade lighter to brighten. Concealer goes on first because it’s lighter and it’s a more blurred line between what’s highlighted and what’s foundation. I’ve been loving Colourpop’s Pretty Fresh concealer infused with hyaluronic acid this winter.
Next comes foundation. I blend this in with a sponge for a full coverage and airbrushed finish. A sponge really pressed the product into the skin in a way that a brush can’t. I’m absolutely horrible about cleaning my brushes as often as I should, but a sponge I lather up with baby shampoo and rinse it after every use. This keeps it more sanitary than a brush and won’t cause any blemishes.
The next step is to set with powder. I prefer a loose powder, but if pressed is your thing then you do you. I use pressed powder throughout the day if I’m getting oily in some areas. An angled brush under my eye is the perfect shape to get into the nooks and crannies near the nose. A big fluffy brush for the rest of the face deposits product more evenly and quickly. I always set my face because I don’t want my creams or liquids to move around throughout the day.

*Universal trick: always apply creams and liquids before powders. If you use cream contour or blush you’ll want to put that under powder. Putting it on top almost always moves your foundation and concealer. The only product I can get away with using on top of powder is a liquid highlight. But even then some formulas refuse to cooperate.*
Bring Dimension Back to the Face
For some, contouring, bronzing, blushing, and highlighting is too much. That’s perfectly okay. There are a lot of steps and until you’re completely comfortable with them it takes a lot of time. However, these aren’t techniques to make your routine longer. They are techniques to bring life back to your face. We put on concealer and foundation to even out tone, hide imperfections, and mask any natural structure. So if you don’t add dimension back into your face you’ll look very flat.
Most tutorials start with contour, but I prefer to bronze first. I use a fluffy angled brush to kiss my cheekbones and forehead with color. Then I’ll go into a more cool-toned bronzer with a dense angled brush to sculpt my cheekbones. After the contour I go back in with my fluffy brush and blend. This makes me look sun-kissed and structured.
Depending on the day I’ll swap the next 2 steps. Usually I’ll do blush next. I use a smaller fluffy brush, similar to a powder brush, and put blush on the apples of my cheeks. Instead of using the traditional sweeping motion, I tap the product into the skin. Even though I set my face I want to be careful I’m not moving product around. Tapping also gives me a more precise application.

The final step for the face is highlighting. This is my favorite part of any makeup look, and my favorite product. Highlighter makes me happy. I always tend to go a little crazy with the shine. With a small brush I’ll put it on the tops of my cheeks back to my hairline, above my brows, down the center of my nose, and my cupids bow. I prefer champagne highlights for my skin tone, but some icy pinks are also super flattering for pale gals like me. For deeper skin tones I love a rich gold or even more bronze undertone.
The trick to finding a highlighter is you don’t want a super visible line. The perfect shade will melt into your skin tone and just give you a little glitz and glamour. If your highlighter is too light or too dark you will see a distinct line of color no matter how much you try to blend.
Eyebrows Frame the Whole Face
Isn’t it strange how obsessed we are with eyebrows these days? I never used to notice eyebrows but now they stand out to me more than anything else. I prefer a thick but fluffy brow. In my opinion they look structured without looking “drawn on.” To achieve this look I start with a taupe pencil. I prefer a cool toned pencil over a warm toned. After brushing up my hairs with a spoolie I draw a line underneath the brow as a guideline. This line goes from front to back. Then I’ll draw a line on the top of the brow from the middle to the back. Now that the shape is there all there is to do is create small hairlike strokes to fill it in. Use a brow gel to set and brush up your hairs.
The Eyes are the Window to the Soul…or something…
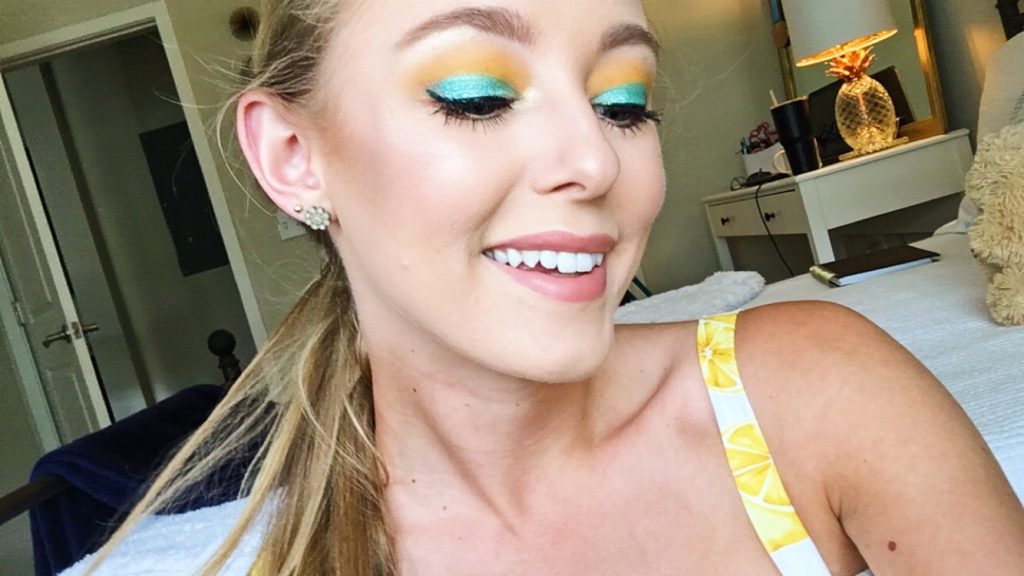
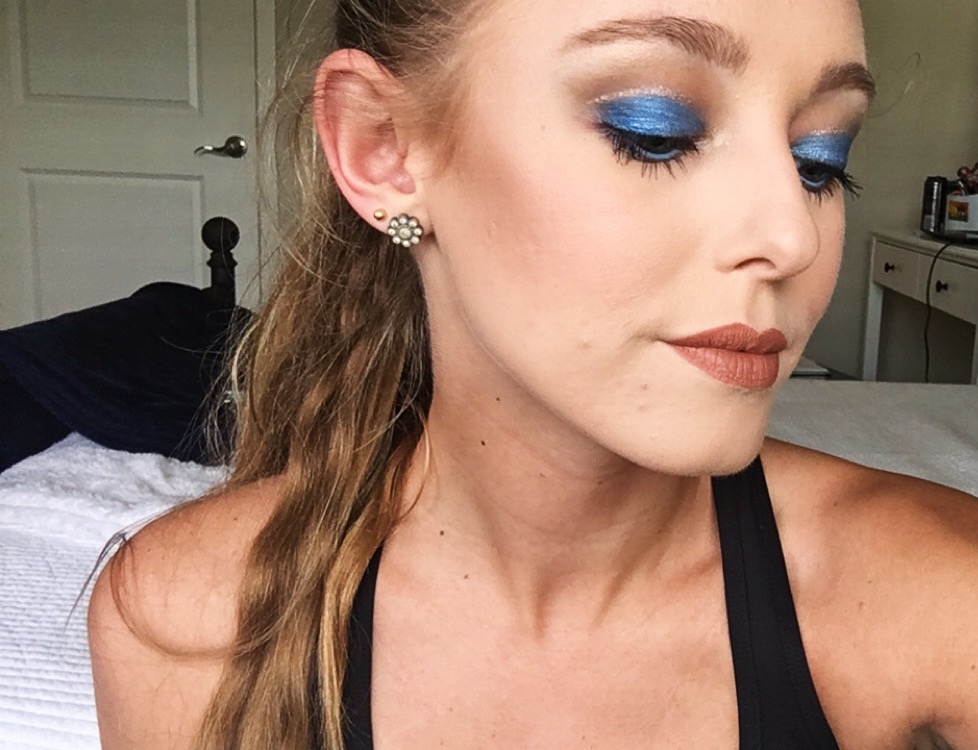
I know I said highlight is my favorite step of my routine, but I might’ve lied. I love doing my eye shadow. To me this is where I get to be creative. Even though I have my go to color scheme and techniques for my everyday look, I rarely wear the exact same look. Because I have so many products in my collection I like to rotate them.
No matter what look I’m doing I always start by highlighting my brow bone. I’m unsure of why I started doing this, but I’ve found it helps my transition shade blend. Next is my transition shade, or my lightest crease shade. Transition shades are what gives eye looks an airbrushed effect. My go to transition shade is a soft brown. I like that it warms up any type of look.
Next I’ll go on the lid with my glitter or metallic shade. I like doing this next because it gives me a chance to clean up any glitter I get in the crease with my actual crease shade. I like using a flat brush for my deepest shade which goes on the outer corners and crease. This allows for a more precise application than a fluffy crease brush.

The last step of my eye shadow is to use a small pencil brush to run the transition and crease shade on the lower lash line. This gives the look of eyeliner without being so harsh. If you’re an eyeliner type of person use a pencil brush or even a Q tip to smudge it out so it’s not so stark.
*Universal Trick: putting a bright shimmery shadow on the inner corner & a white or nude liner on the waterline opens up the eyes. Also use a black liner to run underneath your top lashes. This makes lashes appear fuller. *
Pucker Up
The last step of my makeup routine is to do my lips. My day to day is usually a tinted lip balm. I go through phases with my lip products. During the fall I was really enjoying bullet lipsticks, the classic product that comes in a tube. Now that it’s winter the tinted balms really help keep my lips moisturized and add just the right amount of pigmentation. I’m also super into gloss lately. I use a plumping gloss throughout my routine then wipe it off and after my balm apply a clear gloss. It makes the lips look super juicy and hydrated.
And that concludes my makeup routine. There are instances where this get’s changed. For example, if I’m doing a dramatic eye I’ll do it first so I don’t have fallout on my concealer and powder. For my 5 minute makeup days I do my brows first. I hope that if you were curious of how to apply makeup, some of these tricks work for you. Is this similar to how you apply makeup? Let me know in the comments!

