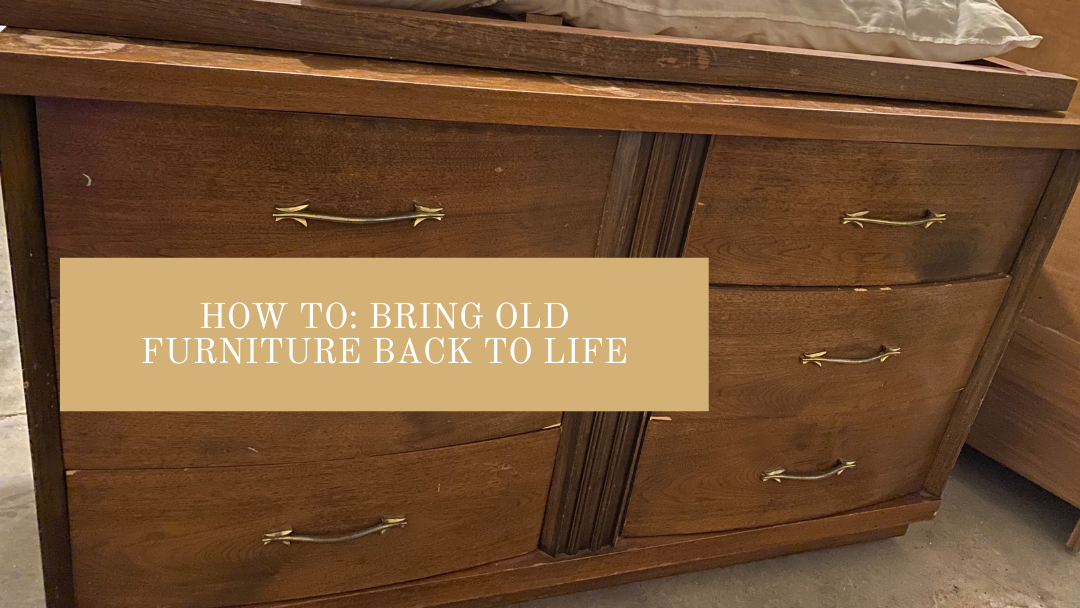
How to: Bring Old Furniture Back to Life
When my mom was fresh out of college in her first apartment she got hooked on refinishing furniture. She found joy in giving unwanted pieces a fresh start. She’s refinished dining chairs, dressers, tables, bed frames and more. To this day she still finds fixer upper pieces for my sister and I, and loves having a project.
When I moved in to my first solo apartment last year I had a very distinct style in mind: mid-century bohemian. I found a gorgeous MCM dresser set on Facebook Marketplace and my mom got right to work making each piece the foundation of my decor. Fast forward 1 more year and I moved in with my boyfriend of 3 years. He has an adorable condo & while the place had a homey charm, it still felt like a bachelor pad.
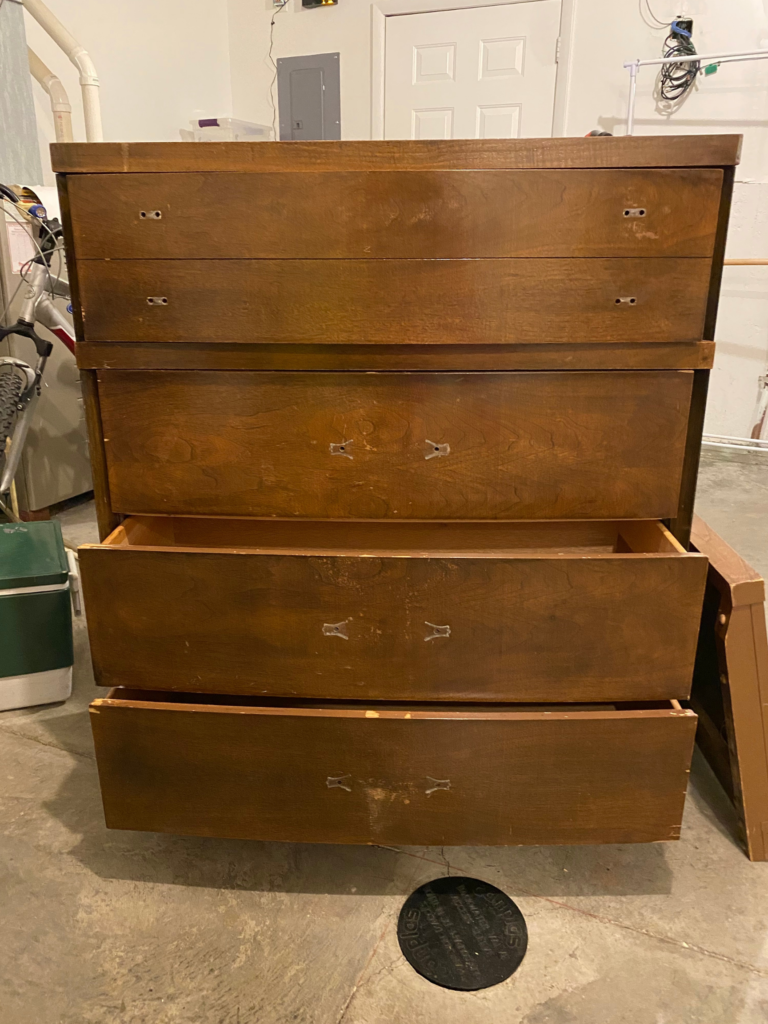
The master bedroom was the room I was worried about most. It’s the darkest room in the house, and when I moved in it had a dresser, a bed, and a nightstand. Practical, but not quite the inviting aesthetic I was going for. I turned to my ever faithful companion Facebook Marketplace and found a gorgeous MCM bedroom set that needed a chance at new life. So, we bought it and I refinished my first ever piece of furniture.
Refinishing Furniture
The Prep Work
Scott was hesitant at first when I declared this was what I wanted. However, I’ve always been very decisive. My mom and I assessed the damage and she gave me a one on one tutorial of how to get it done. What I learned was that the prep work is the most important. And the most time consuming. The first thing to do is wash the pieces. I use Sunnyside Phosphate Free cleaner, which can be found here. Dissolve the amount you need in warm water and use an old rag to wipe down the pieces. You really want to remove as much dirt and grime as possible.
I also learned via 3 separate trips to Menards to make sure you have all your products on hand before you start. You will need:
- Sunnyside Phosphate Free Cleaner
- A hand full of old rags
- Rubber gloves (the kind that chemicals won’t eat through)
- Putty knives (2″ & 4″)
- Lots of newspaper
- Paint and varnish stripper
- An empty quart can
- Cheap 2″ paint brush
- Stain of choice
- Old sock (I found works best for stain)
- Master 2.5″ Trim water based clears paint brush
- Polycrylic
- A rough sponge
- Water
- Paint thinner
- 220 grit sandpaper
- Optional: small electric sander (for bigger pieces)
Out with the Old
Once your pieces are washed and dried you will apply a thick coat of paint and varnish stripper with your cheap paint brush. Let this sit for 10-15 minutes. You can tell it’s ready when you see it kind of bubbling up. If you’re unsure use your putty knife on the edge to see if any of the varnish comes off. My mom and I get so impatient waiting, but you actually save time (and product) if you just wait the 15 minutes.
When the time is up use your putty knife to go with the grain to remove. Be careful not to gouge the wood. You’re skimming the top to remove the varnish and remover. Use newspaper to catch the gunk and clean off your knife. Repeat until all remover is off the surface. If needed, and it probably will be, repeat this process. After 2 coats if there are still shiny spots then “spot treat” those areas with the remover.
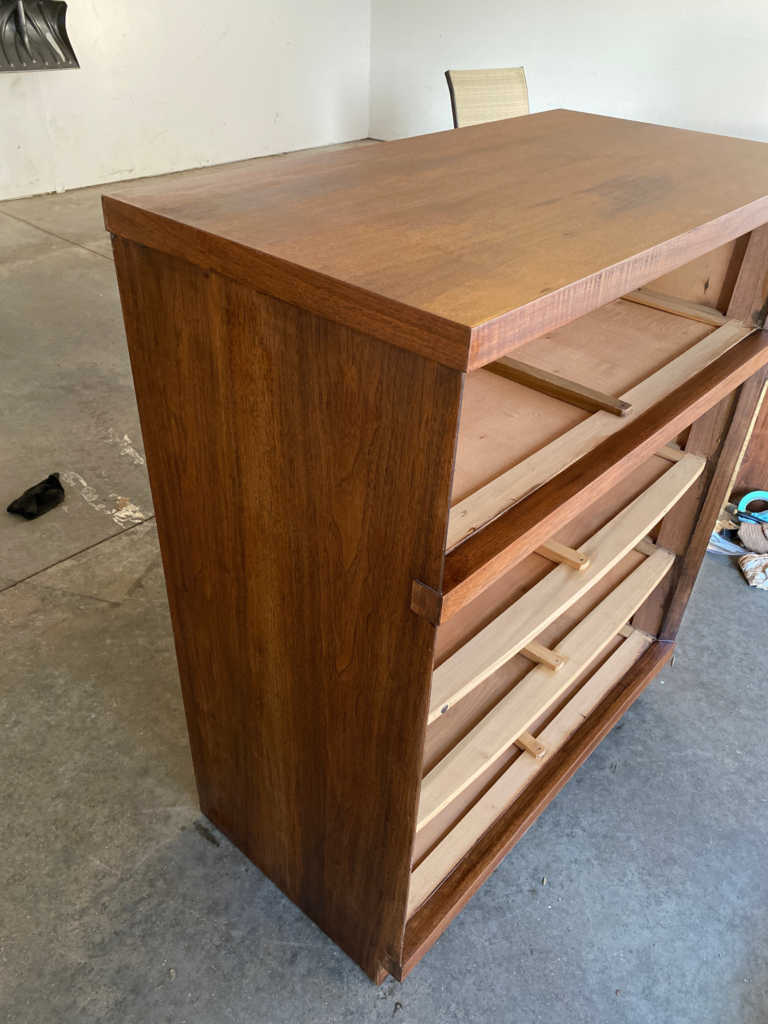
Once all the varnish is removed then you’ll take your coarse wet sponge and go over the entire piece. This will remove all the remaining remover and gunk. This step also makes it easier to tell if there are any spots you missed. If you’re all good to go then use paint thinner on a rag to remove the remaining chemicals and let dry. The removing step takes the longest, but it’s probably my favorite part of the transformation. I love seeing the natural beauty of a piece. Especially when the “before” was in bad shape.
The Middle Ground
Now comes the really hard work, and probably the least satisfying. Between the old and the new is the sanding. For pieces like mine I highly recommend an electric sander. It will save you a lot of time and elbow grease, and a sore shoulder. You want to make sure that all imperfections are as sanded away as possible and that the wood is all one color. This is a great chance to get some of the small shiny spots to completely disappear. Don’t sand too much where you sand through the veneer, because you can’t fix that. Not every blemish will come out. On my dressers I have a couple water marks that are permanent, but it adds character.
Because my pieces were in pretty rough shape I opted to use the paint thinner again between sanding and staining. My wood was looking like different colors, but once the paint thinner was on I knew that I was good to go. This also helped remove any dust left over from sanding. Make sure you let the paint thinner dry (approximately 30 minutes) before moving on to the next step.
In With the New
Now for the fun part – bringing your furniture back to life. You’ve removed the ugly, you’ve cleaned it up, and now it’s time to put on it’s new makeup. Make sure you stir your stain when you open it, then using an old sock dunk it in the stain. Apply the stain using circular motions. Once the piece (or side of the piece) is completely covered then go with the grain back and forth to smooth out the color. Allow the stain to dry for 24 hours before moving on.
You’re not quite done yet. Once the stain has dried for the recommended time, you’re going to put on a top coat. You can make it shiny or satin. I prefer a satin finish on my furniture. I use Minwax Polycrylic & a Master trim brush for water based formulas. You’re going to do three coats of this, letting it dry for 2 hours in between. It will go on as a milky color and you’ll want to move the brush with the grain. This starts drying super fast, so once it’s down you won’t want to go over it until it’s completely dry.
Between coats of the Polycrylic you’ll want to use a 220 grit sanding block to lightly sand with the grain. You’re not doing this as aggressively as before. It’s a light touch to even everything out. Wipe down your piece with a clean rag and apply your next coat of Polycrylic.
Tips & Tricks for Refinishing Furniture
There’s a lot that goes into refinishing furniture. There are a lot of tools needed, there’s a lot of steps, and it takes time. You won’t finish in a day. My biggest tip is don’t feel rushed, especially if it’s your first time. I always say it’s better to do it right the first time, no matter how long that takes. My second tip is always go with the grain of the wood! I cannot stress this enough. My last trick is to Google when you have questions, or ask me! I’m by no means a professional, but I know how well my furniture turned out. Be sure to tag me in your projects & you can see some behind the scenes of my DIY projects on my Instagram!